

Spellbinders Blog Hop & Giveaway - Jane Davenport
I'm excited to be part of this amazing blog hop to celebrate and inspire using some of Jane Davenport's mixed media supplies! Hop along for a chance to win a $50 gift certificate to Spellbinders (details below). Giveaway closes on Sunday, July 4th 11:59 pm EDT.
I chose to work with the following products:
JUST A NOTE: These products were provided to me by Spellbinders to create inspiration for this blog hop.
Links to products in this post are affiliate links and earn me a small commission at no additional cost to you. Good luck on the hop!
Here's What I Made
Coloring a Foiled Background with Mermaid Markers


I foiled a beautiful floral background onto smooth cardstock. To remove any over-foiling, I used an eraser - white for the lighter areas, sand for heavier areas. Using Byron Bay marker, I colored in just the flowers. Instead of using the marker directly onto the cardstock, I scribbled some ink onto a silicone mat and used distilled water and a waterbrush to paint the flowers. In this way, you can water-down and lighten the ink color. Once dry, you can add washes of color for more shadow and depth. This is a nice way of extending your markers. Not only are you using less ink but you can create a multitude of tints for more color variation. You can even mix your own colors with different markers using this technique too.
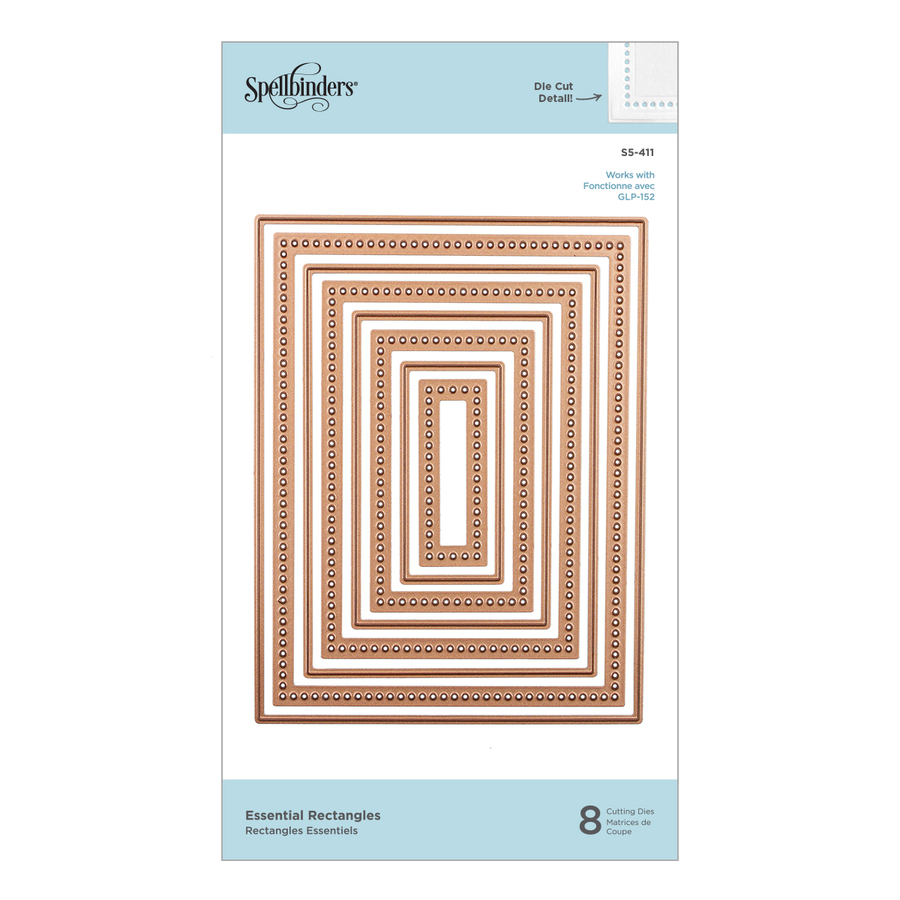
To finish the card, I foiled an oval design and then die cut a frame using the coordinating dies. As a centerpiece, I foiled a beautiful swan and die cut it as well. I also used some glitter card as additional mat layers in the oval frame and behind the foiled sentiment just to have some heavier (more solid) color blocks and added texture.
Products I Used


3D Foam Flowers Colored with Pastels & Mermaid Markers


I used the flower petal dies to cut several layers of white foamiran in each size. The nice thing about white foamiran is you can color it to whatever you like! For this card, I used the pastels to give a nice soft color gradient to each petal. To create some added depth, I used the markers for additional shadow and accent in the center of the petals. Once the petals were colored, I heat-set and distressed the petals using various flower-forming tools. I glued several layers of petals together in a staggered fashion to give it an organic look. You'll have to play with the number and size of petals to see what pleases your eye. Generally, for larger flowers, I use more layers and in more sizes. To finish the flowers, I put a flatback pearl in the center to cover the hole in the center. For the leaves, I used a similar technique to color and mold the foam die cuts but I didn't apply any heat to it.
I created a simple striped embossed white panel that I wrapped with some organza ribbon from my stash. Then I used 3D glue gel to attach my my foam flowers and leaves in a simple arrangement across the card. The final touch - a foiled sentiment.
NOTE: I use a PVA glue to adhere my petals. Because it's water-based, it can activate the markers and intensify the color. If you don't use a lot of glue, then it won't effect the front/top of the flower.
Products I Used


Galaxy Background with Mermaid Markers


I've attempted galaxy backgrounds with different media and I've never been impressed by my creations. LOL However, using the Mermaid Markers are the easiest and the best looking galaxy backgrounds I've made.
To start, I add a wash of water onto watercolor paper. This way, the colors will have soft edges because the ink won't absorb into the paper immediately. I start with Starfish and Byron Bay (lightest colors) in random blotches. Next, I went in with Blue Bottle (mid-color) to fill the panel. I overlapped the the first two colors but left the centers bright. You should have dry patches of Starfish and Byron Bay. This will allow the last color to layer over it without the colors mixing. You can go back in to darken or intensify the previous colors as you like.
The final step uses Deep Sea - the darkest color. Here's the "bravery test" - I colored nearly the entire panel. Before the purple dries, I use a paper towel and blot some of it off the brightest areas. This lets some of that original color shine through.
For the stars, I use my own mica mist - a mix of distilled water, gum arabic and mica powder. I like the shimmer of mica as compared to using a white paint.
Once the panel completely dries, I die cut the mandala design in a semi-circular pattern. Generally, for an eclipse card, you would put entire the die cut back into the negative space. However, I die to cut a silver frame and only inlayed the galaxy portion from the center back into the card to make the design stand out a bit more. I added a simple foiled sentiment to complete the card.
Products I Used


Coloring a Stamped Image With Pastels & Colored Pencils


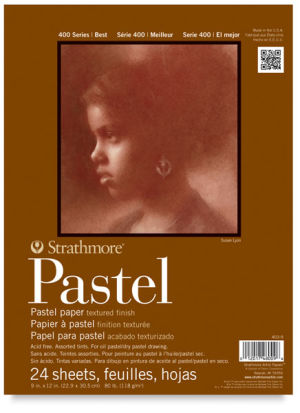
I first stamped the image using VersaMark clear watermark ink onto pastel paper. This is a great paper to work with pastels because there's some "tooth" (texture) to the paper which allows the paper to grip the pastel. Using VersaMark creates a sticky impression of the stamp so the pastel has even more to grip onto. I like using the Jane Davenport Baton Blender to lightly brush pastel over the stamped image using various colors - green for leaves, pink for flowers and purple for the letters. To deepen the colors, I outlined and colored in using the colored pencils. Finally, I filled in the background with blue pastel to ground and complete the image panel.
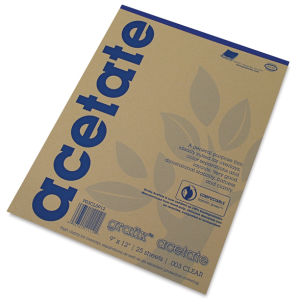
With the panel complete, I created an acetate-lined, frame border to cover the panel. Adhering foam between the frame & panel, eliminates the need to use a fixative. That said, the pastel paper grabs onto the pastel and using a color pencil over some of the pastel also reduces dusting and rub-off, so you don't necessarily need the acetate. I like that it makes it look like a framed piece of "art". :) The final touch - a foiled sentiment finishes off this card!
Products I Used



Giveaway Details
To celebrate this event, Spellbinders is giving away a $50 gift certificate to 3 lucky blog readers – selected from the comments on their blog. Giveaway closes on Sunday, July 4th 11:59 pm EDT. The winners will be announced in the blog hop post the following Wednesday. Winner is responsible for shipping cost, duties and taxes.
Annie Williams
Marie Heiderscheit
Ilina Crouse
Jennifer Snyder
__ Linh Van__ (You are here)
Deborah Jenkins <- HOP HERE NEXT
Virginia Lu
Jessica Vasher
Rosemary Dennis
Heather Hoffman
Jennifer Kotas
Natasha Vacca
Norine Borys